
Most solar guidance is written for sunny, warm-climate homeowners cleaning schedules built around dust and pollen, safety tips built around summer heat. If you live somewhere with real winters, that advice leaves out the season that actually matters most for your system’s output.
Snow removal from solar panels requires a different approach entirely, and getting it wrong risks either a scratched panel or a fall off an icy roof. Here’s what actually works, what to avoid completely, and when the right answer is simply calling a professional.
Table of Contents
Does Snow Actually Hurt Your Solar Production That Much?
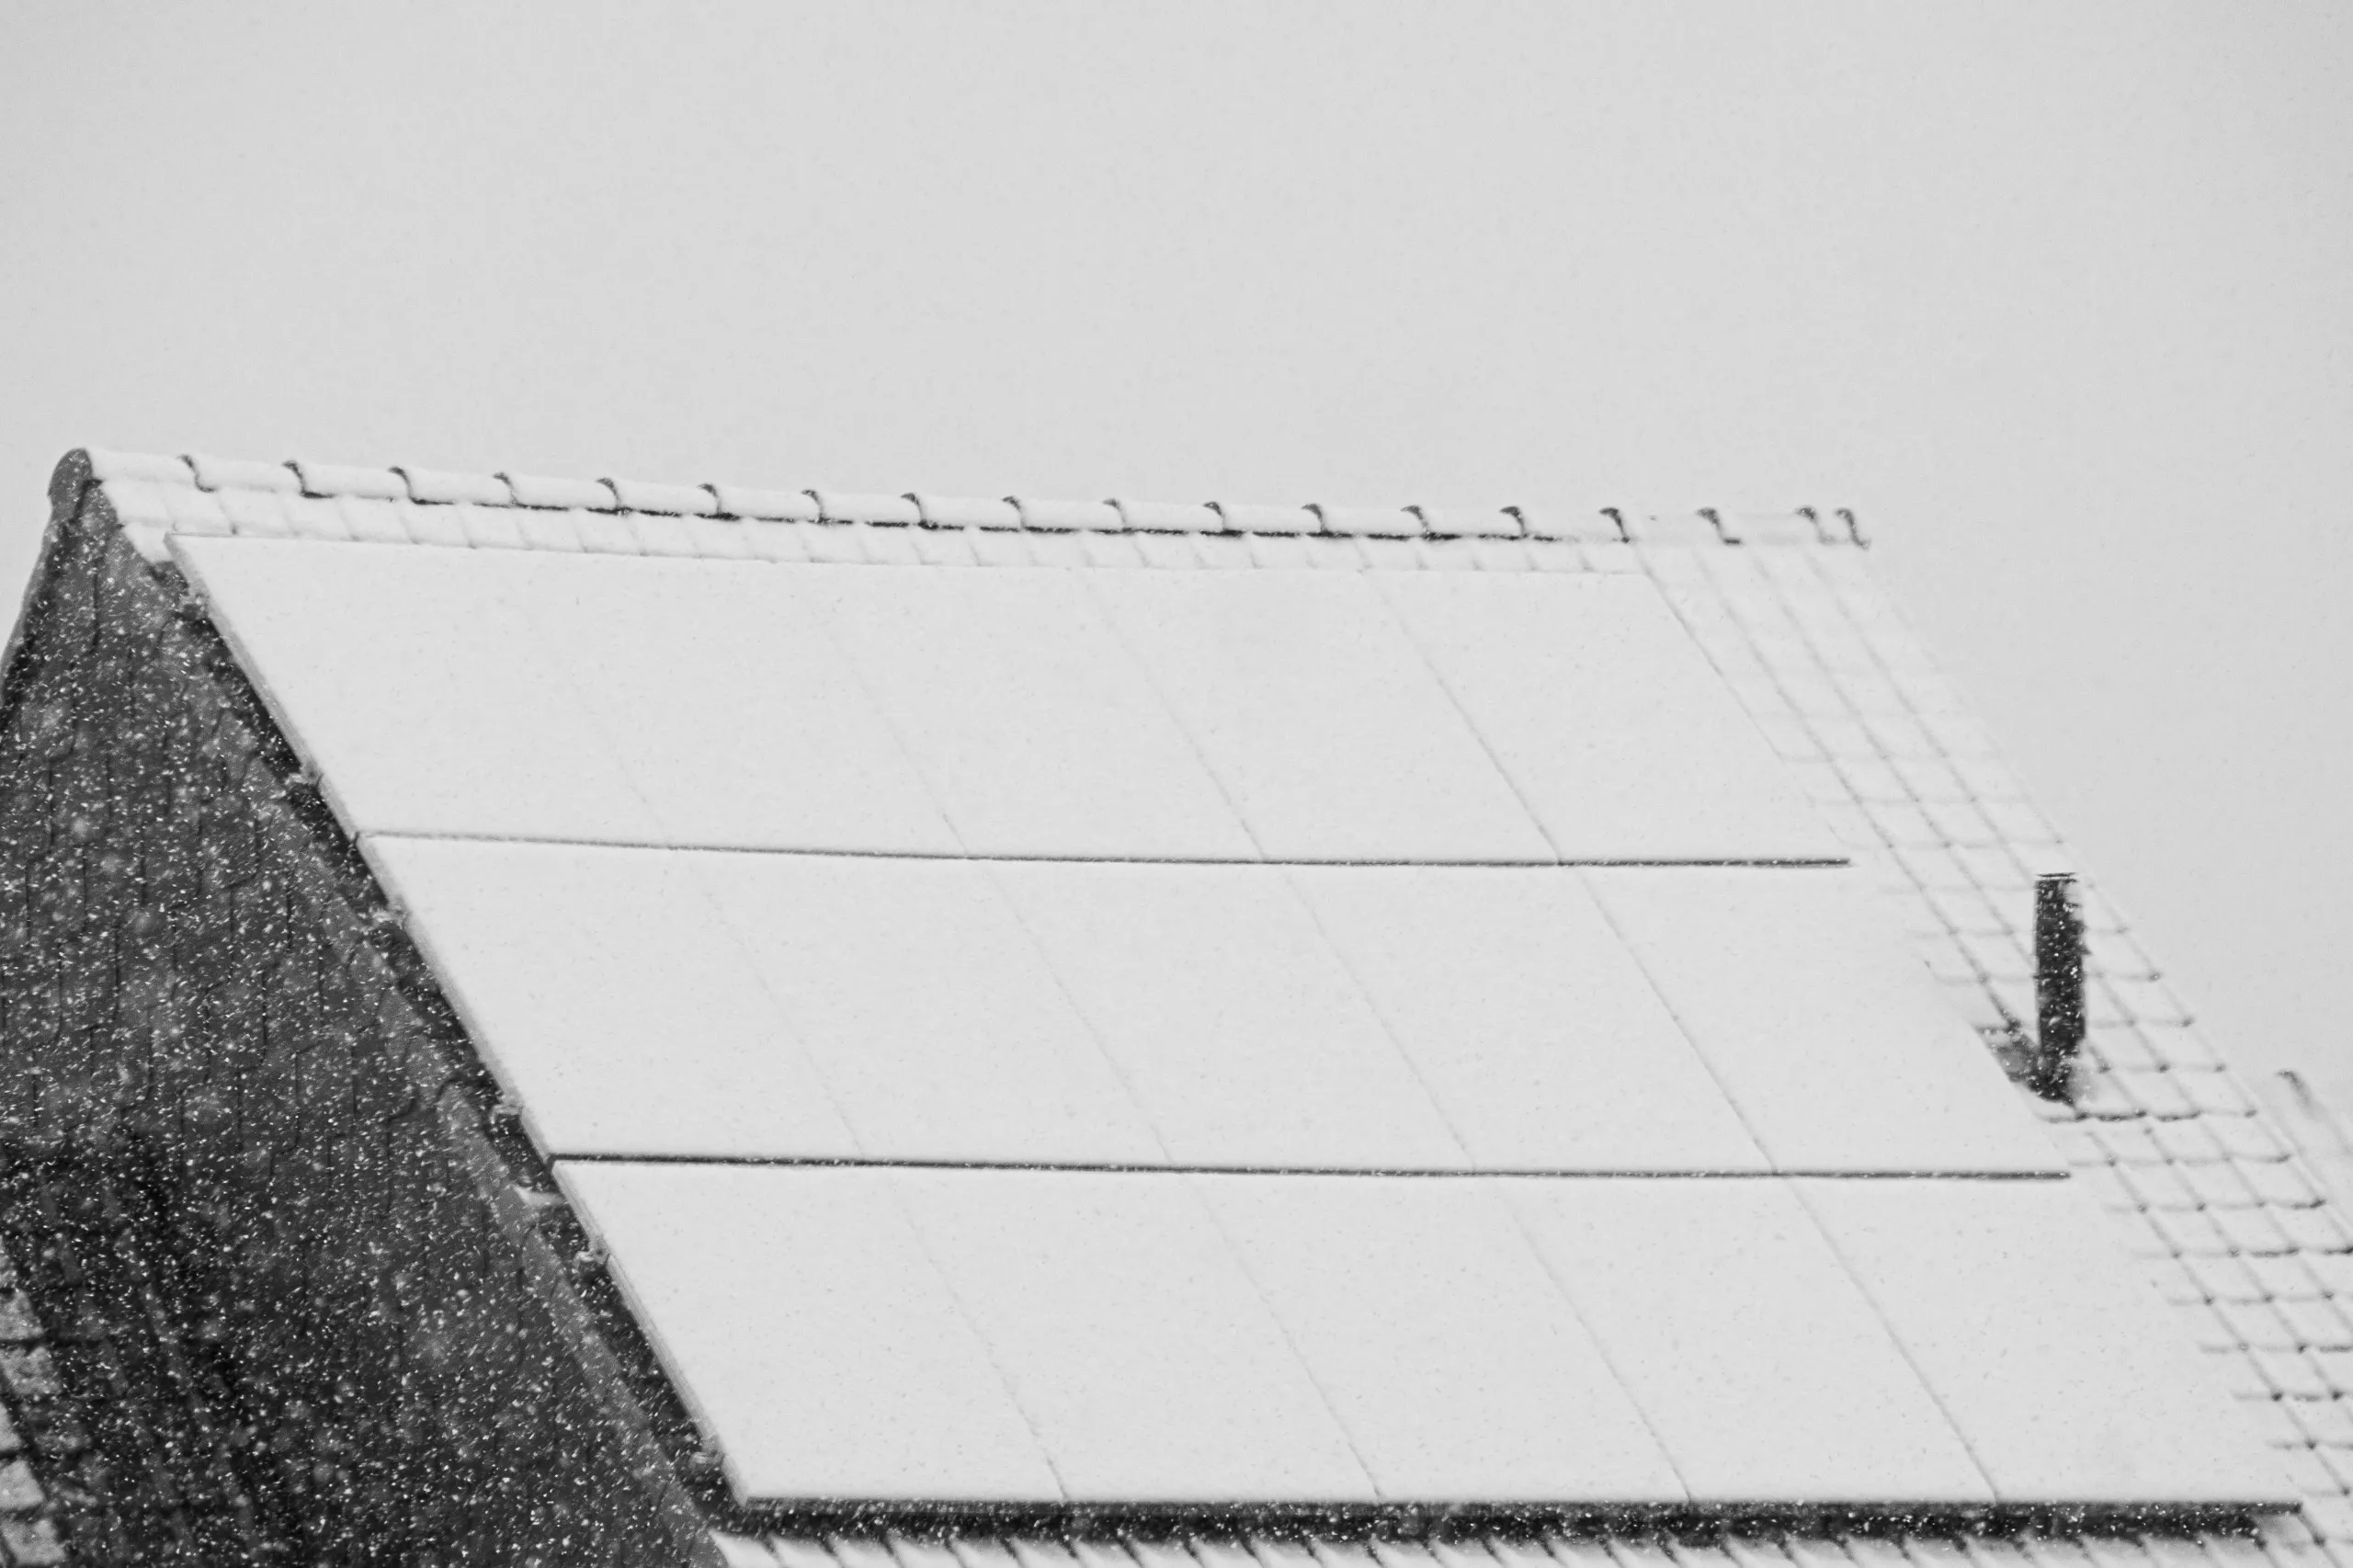
It depends entirely on how much accumulates and how it sits on the array. A light dusting typically doesn’t meaningfully affect production — some of it slides off on its own, and thin coverage still lets a reasonable amount of light through. A fully snow-covered panel is a different story: output can drop close to zero until the snow slides off or melts, since sunlight simply can’t reach the solar cells underneath a complete covering.
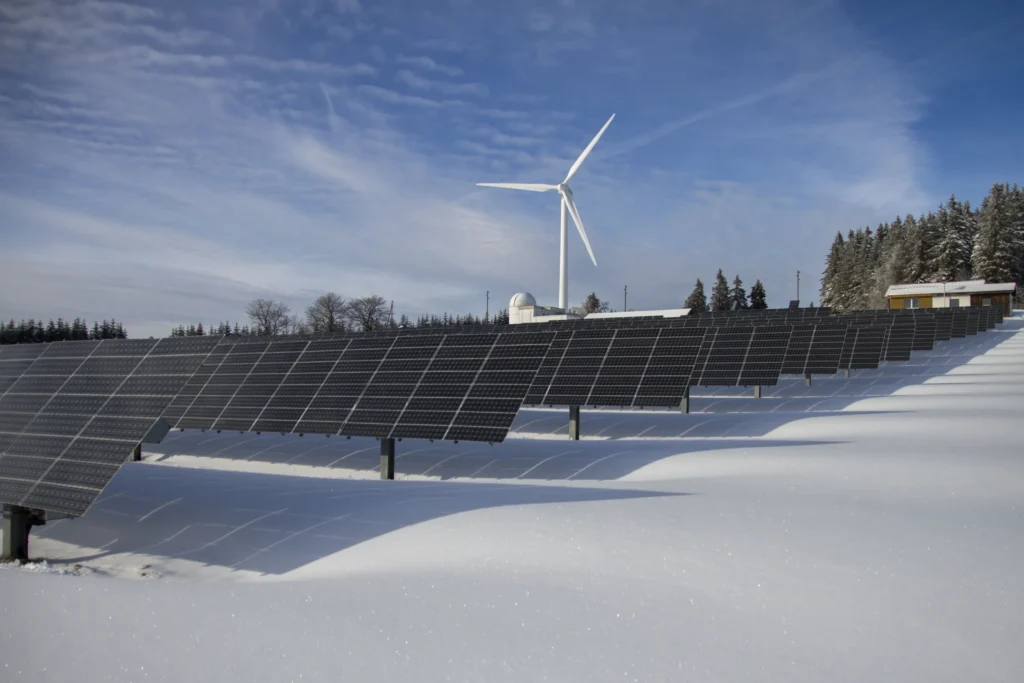
There’s a genuinely useful upside worth knowing, too: snow’s high reflectivity can temporarily boost output on nearby unobstructed panels through increased ambient light bouncing off the surrounding snow. And contrary to what a lot of people assume, solar cells generally perform more efficiently in cold temperatures than in extreme summer heat, since panel efficiency ratings are based on standard test conditions well below typical hot-weather roof temperatures. Cold and snowy doesn’t automatically mean a bad solar climate — it just means winter maintenance looks different than summer maintenance.
The Safe Way to Remove Snow
The consistent, cross-source rule: work from the ground whenever possible, using a tool specifically designed for solar glass, not general-purpose snow or roof tools.
A telescoping snow rake with a soft foam or rubber head is the standard recommendation. Position yourself to the side of the array, not directly underneath it, since snow can release in a sudden sheet. Start clearing from the bottom edge of the array and work upward — this keeps cleared sections from immediately catching new snow sliding down from above. Keep the rake head flat against the panel surface and pull snow downward in small, controlled passes rather than forcing large sections at once.
For light, fresh, powdery snow, a soft-bristled broom with an extension pole works nearly as well as a purpose-built rake and is often already sitting in a garage. For denser, wet, or partially refrozen snow, a plastic (never metal) scraper or squeegee can help break up the top layer before raking it away.
What to Never Use
This list matters as much as the tools you should use, since several of the most intuitive-seeming fixes cause real, expensive damage.
Standard metal roof rakes have hard edges and exposed fasteners that can scratch panel glass or damage the anti-reflective coating. The extra leverage they provide also makes it easy to push too hard into panel frames or racking hardware without realizing it. Shovels or any metal, sharp-edged tool carry the same scratching risk, plus a real chance of denting frames or damaging wiring underneath.
Hot water feels like an obvious quick fix, but pouring it on cold glass risks thermal shock cracking — the same reason you don’t pour boiling water on a frozen car windshield. Rock salt and most chemical de-icers are corrosive to the aluminum frames and mounting hardware that hold your system in place; if de-icing is genuinely necessary, calcium chloride applied carefully and kept away from direct panel contact is the safer option.
Comparison Table: Snow Removal Methods
| Method | Best For | Risk Level |
|---|---|---|
| Soft foam/rubber-head snow rake (from ground) | Most situations, standard accumulation | Low |
| Soft-bristled broom with extension pole | Light, fresh, powdery snow | Low |
| Plastic scraper/squeegee | Denser or partially refrozen snow, used gently | Low-Moderate |
| Standard metal roof rake | Not recommended for panels | High, scratches glass, damages frames |
| Shovel or metal tools | Not recommended | High, scratches glass, dents frames, wiring risk |
| Hot water | Not recommended | High, thermal shock, cracked glass |
| Rock salt | Not recommended | High, corrodes aluminum frames and racking |
| Calcium chloride (careful, indirect use) | Persistent ice, when truly necessary | Moderate, if kept off direct panel contact |
| Professional removal service | Steep roofs, large sheet-sliding risk, persistent ice buildup | Low (for you) |
This table reflects consistent guidance across multiple 2026 solar maintenance sources; specific product recommendations vary by manufacturer, so check your panel warranty terms for any explicit restrictions.
The Roof Risk Most Homeowners Don’t Think About
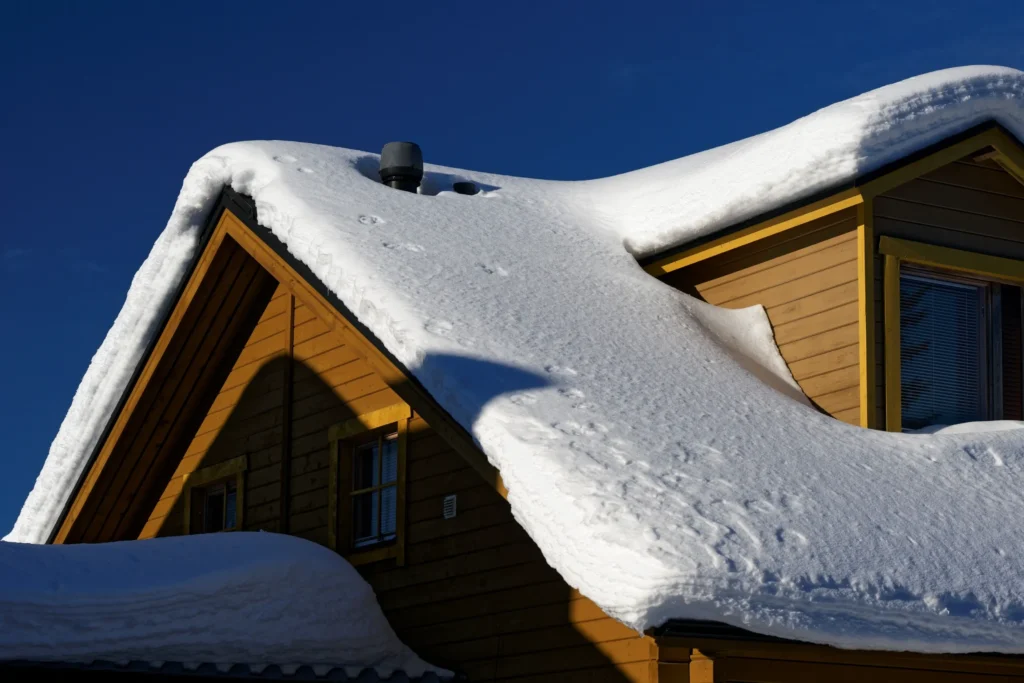
Snow sitting on top of your panels isn’t the only concern. Snow can also accumulate in the gap between the panels and the roof surface itself, shielded from wind but reachable by heat escaping your attic. That trapped snow can melt from below and refreeze at the roof’s cold eaves, contributing to ice dams — a genuine roof hazard that homeowners sometimes mistake for a “solar problem” when it’s really an attic insulation and ventilation issue interacting with the panel mounting.
Keeping the “landing zone” below your array clear matters too. When snow slides off the slick surface of solar panels, it needs a clear path to the ground; if that area is blocked or piled up, it can create its own dam effect at the gutter line. A properly insulated, well-ventilated attic — keeping your roof close to outdoor temperature rather than artificially warm — is the actual long-term fix for ice dam risk, more than any snow-removal technique on the panels themselves.
Panel Angle: A Real Winter-vs-Summer Tradeoff
If you’re installing new panels in a snowy climate, tilt angle is worth discussing with your installer beyond the standard summer-optimized recommendation. Panels mounted at a steeper 45-60 degree angle shed snow considerably more easily than the shallower 15-30 degree tilt typically used to maximize direct summer sun exposure.
This is a genuine tradeoff, not a free upgrade — a steeper angle reduces some summer production efficiency in exchange for less snow-related winter downtime, and finding the right balance depends on your specific climate’s snow frequency versus your summer sun exposure needs. It’s worth raising directly with your installer if you’re in a heavy-snow region, rather than assuming the standard installation angle is automatically correct for your climate.
When to Call a Professional Instead
A handful of situations are genuinely not DIY-appropriate, regardless of how capable you feel with a snow rake.
Call a professional if you can’t reach the array safely from the ground, if your roof is steep, icy, or would require working near an edge, if snow routinely releases in large sheets creating a real impact risk to anyone below, or if ice has built up persistently at the panel edges despite reasonable removal attempts. None of these situations are worth the risk of a fall or a damaged system to save a service call fee.
Frequently Asked Questions
A light dusting typically doesn’t meaningfully affect production, but a fully snow-covered panel can see output drop close to zero until the snow clears, since sunlight can’t reach the cells underneath a complete covering.
A telescoping snow rake with a soft foam or rubber head, operated from the ground, is the consistently recommended tool across solar maintenance guides. Standard metal roof rakes and shovels risk scratching the glass or damaging the frames.
No. Hot water can cause thermal shock cracking on cold glass, and rock salt is corrosive to aluminum panel frames and mounting hardware. If de-icing is truly necessary, calcium chloride applied carefully away from direct panel contact is the safer option.
Indirectly, yes, in some cases. Snow trapped in the gap between panels and the roof can be melted by escaping attic heat and refreeze at the roof’s edge, contributing to ice dams. Proper attic insulation and ventilation is the actual long-term fix, more than any panel-surface snow removal technique.
It’s worth discussing with your installer if you’re in a heavy-snow region. A steeper 45-60 degree tilt sheds snow more easily than the standard 15-30 degree summer-optimized angle, though it involves a real tradeoff with summer production efficiency.
If you can’t safely reach the array from the ground, your roof is steep or icy, snow releases in large sheets creating an impact risk, or ice has built up persistently despite reasonable removal attempts.
The Bottom Line
Snow and ice on solar panels are a real, manageable part of owning a system in a cold climate, not a reason to avoid solar in snowy regions altogether. The safe approach is consistent: work from the ground with soft, purpose-built tools, avoid anything metal, hot, or chemical, and recognize when a situation genuinely calls for a professional rather than a DIY attempt. Pair that with proper attic insulation to prevent ice dams, and winter becomes a manageable maintenance season rather than a genuine risk to your system or your safety.
SOURCES
- GreenLancer : “How to Clean Snow Off Solar Systems: Solar Panel Snow Removal“
- Boston Solar : “How to Prevent Solar Ice Dams: 5-Step Guide 2026”
- Gridworks Energy : “Solar Panel Snow Removal: The Dos and Don’ts Of Snow-Free Panels”
- United Better Homes : “How to Keep Snow Off Solar Panels – 6 Methods to Try”
- Anker SOLIX : “How to Keep Snow Off Solar Panels: 9 Effective Ways To Do It“
- Angel-Guard Products : “6 Safe Solutions for Solar Panel Snow Removal“
DISCLAIMER
PeakGuard Home provides general guidance on home and solar improvement topics based on research and publicly available information. This content is intended for informational purposes only and should not be treated as professional advice. Costs, products, and recommendations may vary based on your location, home, and local codes. Always consult a licensed contractor, electrician, or solar professional before making improvement decisions or starting any project.