

You don’t need a $30,000 remodel to make your house feel different. Sometimes it’s a fresh accent wall, better lighting, or new cabinet handles that does more than a full renovation would.
That’s the real appeal of home improvements under $100. They’re realistic enough that you’ll actually start them this weekend instead of adding them to a someday list. The tricky part is figuring out which $100 upgrades genuinely deliver, and which ones are more hype than result.
Here’s a breakdown with real 2026 pricing for each one, so you know exactly what you’re getting before you buy anything.
Table of Contents
1. Paint an Accent Wall (Not the Whole Room)
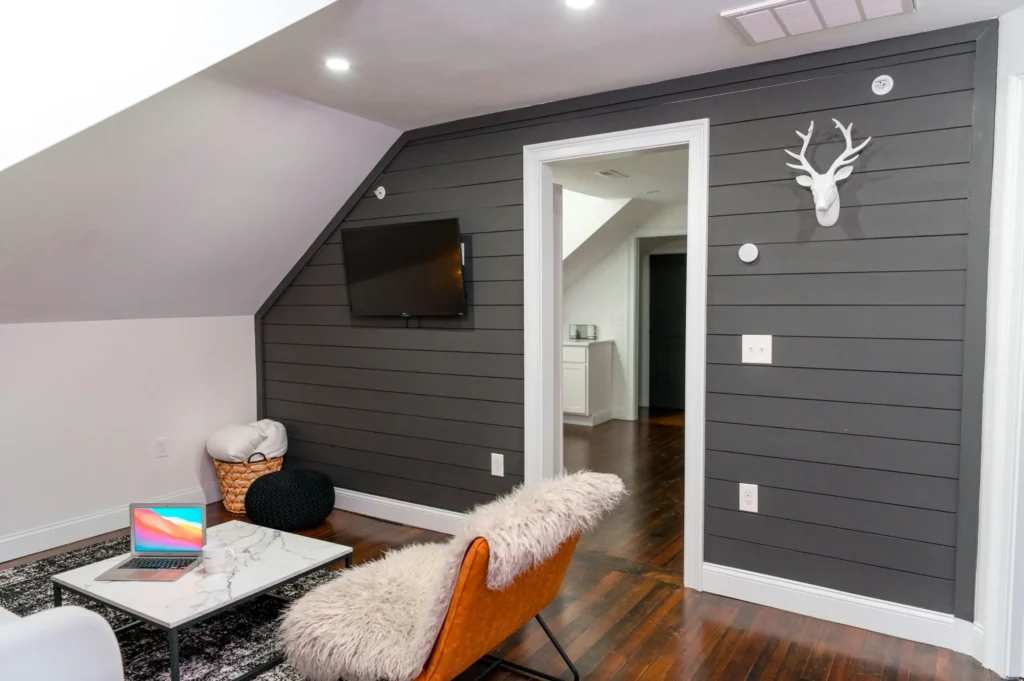
Full-room repaints add up fast once you count multiple gallons and primer. An accent wall keeps costs contained while still changing how a room feels.
A single 12×12 wall typically needs about one gallon. Budget-friendly Behr Premium Plus runs $44–$52 per gallon at Home Depot, and Sherwin-Williams’ contractor-grade ProMate 200 line runs around $45 at list price, or closer to $29 during one of their regular 30–40% off sales (they run these roughly four times a year, Memorial Day, July 4th, Labor Day, and Black Friday).
Realistic budget: One gallon of quality paint ($30–$50) plus a basic roller and tray kit ($10–$15) keeps you comfortably under $100, even before hunting for a sale.
Why an Accent Wall Beats a Full Repaint on a Budget
A full room repaint typically needs 2–3 gallons for walls plus primer, which pushes past $100 fast even on the cheap end. One accent wall gets you the visual impact, the “this room feels different now” reaction without the material cost of covering every wall twice.
2. Peel-and-Stick Wallpaper for a Small Space
If painting isn’t your thing, peel-and-stick wallpaper is the other major player in this price range, and it’s genuinely improved in quality over the past few years.
Pricing varies a lot by brand. Budget rolls from big-box retailers can run as low as $6–$12 on clearance, while more consistent mid-range quality lands around $1.00–$1.50 per square foot meaning an accent wall or a small space like a closet or entryway (roughly 40-60 sq ft) can realistically run $40–$90 in materials.
Bathrooms, entryways, and small accent areas are the best fit for this budget, since covering a full bedroom wall at higher-end pricing (some premium brands run $5+/sq ft) can blow past $100 quickly.
Realistic budget: $40–$90 for a small wall or accent space using mid-range peel-and-stick product.
3. Upgrade to Smart LED Bulbs (Skip the Whole-Home Hub)
Smart lighting sounds like a bigger investment than it actually is, as long as you skip the hub-based systems for now.
Basic GE Cync bulbs no hub required, connects directly to WiFi run about $8–$12 per bulb, or $16–$20 for a 2-pack. If you want color-changing bulbs instead of basic white, a 4-pack of Govee A19 RGB bulbs runs around $40–$52, which is still well within budget for a single room. Philips Hue is the premium option here (a 4-pack of basic white bulbs runs about $49.99), but it’s the priciest of the three and starts to make more sense once you’re committing to a whole-home system.
Realistic budget: 4-6 GE Cync or Govee bulbs for a living room or bedroom, $40–$80 total, no hub needed.
Why Skipping the Hub Matters for This Budget
Philips Hue’s full feature set, automations, scheduling, geofencing requires a separate Hue Bridge, which is an added cost on top of the bulbs themselves. For a single-room $100 project, WiFi-direct bulbs like GE Cync or Govee get you dimming, scheduling, and voice control through Alexa or Google Home without that extra hardware cost.
4. Replace Cabinet Hardware Yourself
This is one of the highest-impact upgrades for the money, but only if you skip professional installation, which can run $5–$30 per handle on top of the hardware itself.
Basic cabinet knobs and pulls cost $1–$25 per piece depending on style, with most standard kitchen hardware landing in the $2–$10 range. A typical kitchen has 35–45 hardware points (doors and drawers combined), so a full kitchen at $6+ per piece can run well past $100 but a partial update (just the most visible upper cabinets, say 15-20 pieces) at $3-$5 each keeps you inside budget.
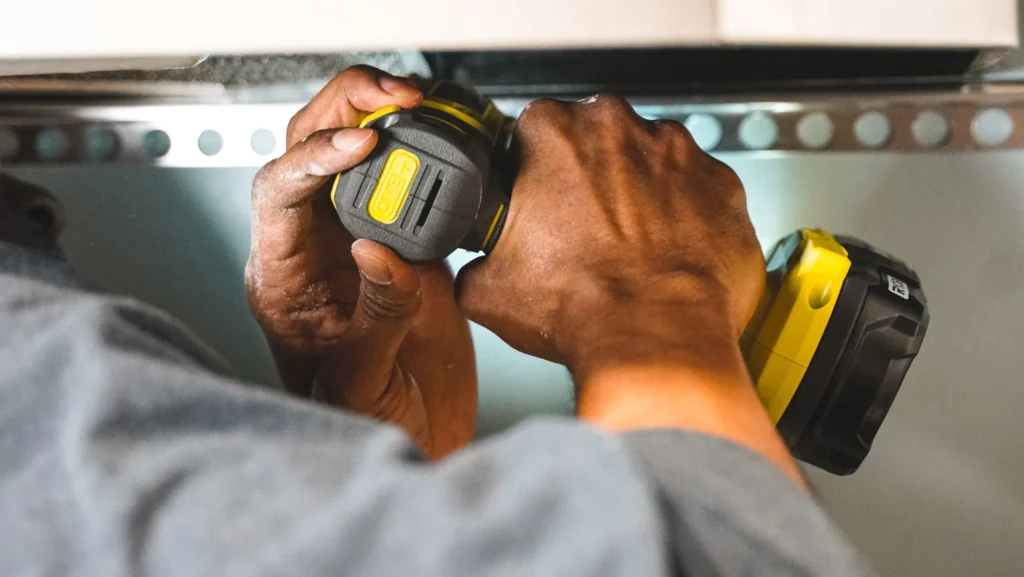
Realistic budget: 15–20 basic pulls or knobs at $3–$5 each ($45–$100), installed yourself with a screwdriver and a drill this is a genuinely doable weekend project, not a professional job.
5. Add Floating Shelves for Storage
Clutter is often a bigger visual problem than outdated decor, and floating shelves are one of the more affordable ways to address it without a full closet system.
Basic floating shelves from major retailers typically run $10–$35 per unit depending on size and material (wood versus metal-bracket styles). Three to four shelves for a kitchen, bathroom, or entryway keeps you at $30–$120 depending on how many you install and their size. So sticking to 3 shelves in the $15-$25 range is the safest way to stay under budget.
Realistic budget: 3 shelves at $15–$25 each, roughly $45–$75 total.
6. Refresh Your Front Door
The outside of your home is the first thing anyone sees, and a front door repaint is one of the cheapest ways to change that first impression.
A single quart of exterior-rated paint (a full gallon is usually more than a door needs) typically runs $15–$25, and basic prep supplies, sandpaper, painter’s tape, a small brush add another $10–$15. Even factoring in a coat of primer if you’re changing from a dark color to a light one, this project realistically stays under $50.
Realistic budget: $35–$50 total, including primer if needed.
7. Add One or Two Smart Plugs Instead of a Whole Smart Home System
If full smart bulbs feel like more commitment than you want, smart plugs are the lower-cost entry point you keep your existing lamps and just make them schedulable and voice-controlled.
Basic smart plugs typically run $10–$15 each individually, or less in multi-packs. Two or three plugs for lamps, a fan, or a coffee maker keeps this well under $50, leaving room in your $100 budget to pair it with one of the other upgrades on this list.
Realistic budget: $20–$45 for 2-3 smart plugs.
Comparison Table: Real Cost Ranges by Project
| Upgrade | Realistic Cost Range | Time Required | Skill Level |
|---|---|---|---|
| Accent wall paint | $40–$65 | 1 weekend day | Beginner |
| Peel-and-stick wallpaper (small space) | $40–$90 | 1 weekend day | Beginner |
| Smart LED bulbs (4-6 bulbs, no hub) | $40–$80 | Under 1 hour | Beginner |
| Cabinet hardware (15-20 pieces, DIY) | $45–$100 | 2-4 hours | Beginner-Intermediate |
| Floating shelves (3 units) | $45–$75 | 2-3 hours | Beginner |
| Front door repaint | $35–$50 | 1 weekend day | Beginner |
| Smart plugs (2-3 units) | $20–$45 | Under 30 minutes | Beginner |
This table reflects publicly available 2026 retail pricing at the time of writing; actual costs will vary by retailer, region, and current sales.

What’s Not Realistic to Expect at This Budget
It’s worth being honest here: none of these projects will match the impact of a full kitchen remodel or a professionally installed lighting system. What they will do is address the specific, visible details, outdated hardware, flat lighting, a tired accent wall that make a home feel dated even when the bigger-ticket items (cabinets, flooring, layout) are perfectly fine.
If a room still feels off after one or two of these upgrades, that’s often a sign the actual issue is something bigger, layout, lighting placement, or a fixture that genuinely needs replacing rather than refreshing.
Frequently Asked Questions
Paint (especially an accent wall), lighting upgrades, and cabinet hardware tend to have the most noticeable visual impact relative to their cost, since they change what your eye lands on first when entering a room
Mid-range and premium peel-and-stick products have improved significantly and can look nearly identical to traditional wallpaper. Budget clearance rolls vary more in quality, so it’s worth checking recent reviews for a specific product before committing to a full wall.
No. Smart bulbs screw into existing fixtures just like a regular bulb, and smart plugs plug directly into existing outlets. Neither requires any wiring work or professional installation.
Yes, for most standard cabinets. If your new hardware uses the same screw spacing as your old hardware, it’s typically a same-day project with just a screwdriver or drill. If the spacing is different, you’ll need to fill and touch up the old holes, which adds time but is still a manageable DIY project.
Combining two lower-cost items — like smart plugs plus floating shelves, or cabinet hardware plus a front door repaint — usually stays under $150-$180 total, making it realistic to tackle two projects in the same weekend without needing a much bigger budget.
For some items (basic hooks, simple shelving brackets), yes. For items where quality is more visible up close — hardware finish, paint durability, wallpaper adhesive — spending slightly more within your budget usually holds up better over time.
The Bottom Line
Home improvements under $100 aren’t about doing everything at once they’re about picking the one or two changes that will actually be noticeable, and doing them with real numbers in mind instead of guessing. Start with whichever project on this list addresses what’s actually bothering you about a room, price it out using the ranges above, and you’ll likely still have budget room left over for a second small upgrade the same weekend.
SOURCES
- The Homes I Have Made — “Where to Buy Peel-and-Stick Wallpaper At Affordable Prices” —
- HomeGuide — “How Much Does a Gallon of Paint Cost?” (2026) —
- UseCalcPro — “Sherwin-Williams Paint Price 2026: Cost Per Gallon by Product Line”
- Trunetto — “Smart Lights Are Confusing As Hell (Philips Hue vs GE Cync vs Govee)” (2026)
- HomeGuide — “How Much to Install Cabinet Hardware Cost Guide” (2026)
- Angi — “How Much Does It Cost To Install Cabinet Hardware?” (2026)
DISCLAIMER
PeakGuard Home provides general guidance on home and solar improvement topics based on research and publicly available information. This content is intended for informational purposes only and should not be treated as professional advice. Costs, products, and recommendations may vary based on your location, home, and local codes. Always consult a licensed contractor, electrician, or solar professional before making improvement decisions or starting any project.